
High Waisted Leggings
in 20mins

These high waisted leggings were made from an old pair of American Apparell leggings that I unpicked and used as a pattern.
But Burda have a great pattern ref: 7343 which are just as good just have to knock off about 3cms off the waist and make a large rectangle for the folded over high waist.

My fabric was bought from 'Fabric Land' in Kingston but look them up as they have branches all over.
The fabric was a shiny lycra jersey which you MUST WASH AND TUMBLE DRY before of it's just too shiny and looks silly.

Fold fabric right sides together and lay pieces out. If using unpicked old pair of leggings then allow 1cm seam allowance all round.

Should look like this picture above

Then separate pieces and fold with right sides together.

Take one of the legs and make a hem of about 2cms

VERY IMPORTANT! With hem side down, stitch a line 1cm from hem stretch a bit as you go.

Then stitch another line half a cm above it ( unless you've been using a twin needle)

Trim off the excess

Now, fold with right sides together and start stitching down the seam, always being aware of how far you are from the end and making sure seams line up as you go.
DON'T FORGET TO STRETCH A LITTLE AS YOU SEW

Snip corner of hem at an angle as in above picture. Then stitch up the other leg in the same way.

Now, concentrate........ have one leg the right way round and the other turned inside out as in he above picture.
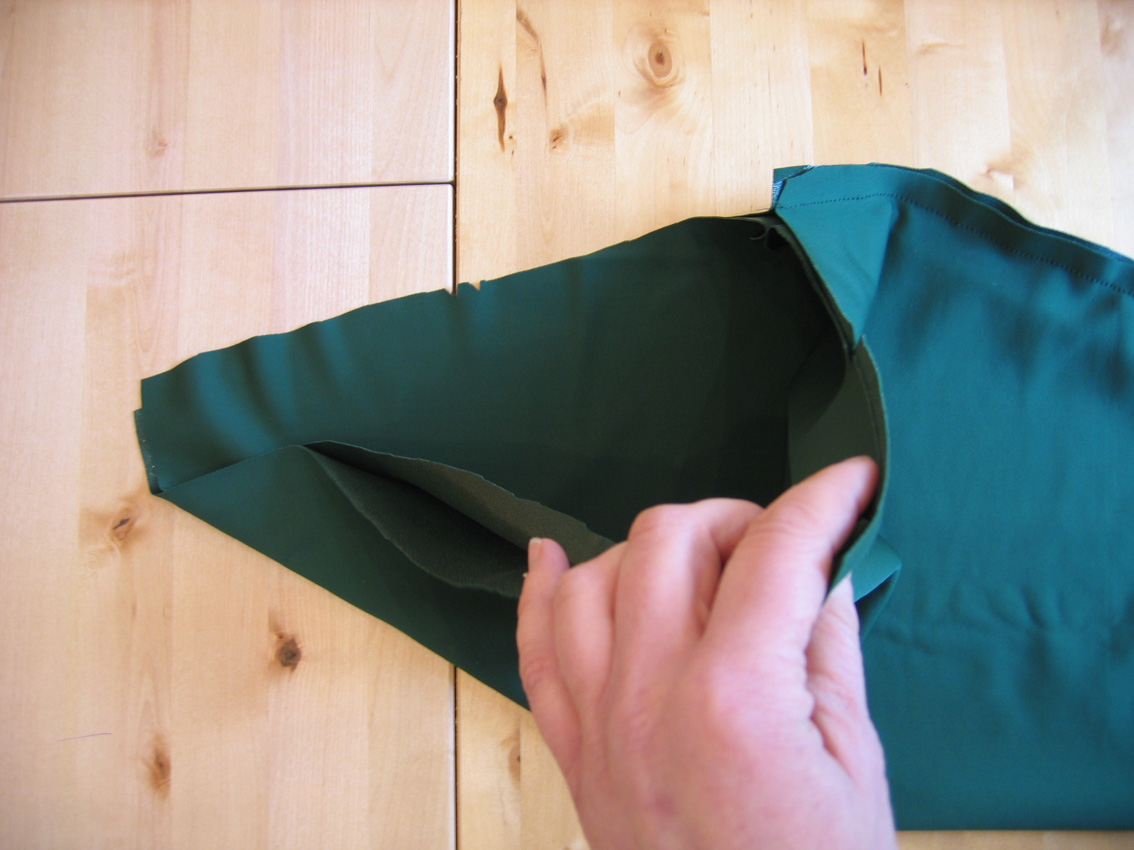
Should look like this

Stitch around the crotch

Turn the right way round and you are nearly there!

Now get those 2 rectangular pieces which are going to be the high wait. Stitch the sides together and then fold over and try it on to seem if you need to shape it. If it is too big bring it back to being flat and inside out and try shaping it like this and trim off the excess.

Should look like this. Then make notches (little snips) to show centre back and front then zig zag the edges.

Place over the top of the leggings, make notches to show sides of leggings

Then begin to stitch together. MUST USE A ZIG ZAG STITCH. Make use of your notches line the up together as you sew that way you can be sure to firt the waistband to the leggings correctly and remember to STRETCH AS YOU SEW!

Should look like this.

Perfect!
20mins away from off the peg!

Imagine the all the different versions you could do of these.


