Sunday 12 August 2012

CHAINMAIL STYLE PURSE MADE OUT OF A SCOURER

CHAINMAIL STYLE PURSE MADE OUT OF A SCOURER

 I'm on holiday at the moment on Greek Island.
I broke my old purse so went looking in the local grocers shop for ideas for making a new one. Found some Metal Scourers used for cleaning pans, perfect!
 This is what you need to make this fantastic purse:
2 X Metal Scourers, cut open so you end up with 2 big pieces.
1 X heavy duty 8inch Zip
1 X Keg ring fog.
Strip of leather or fake leather.
 The Scourers also come in gold.
Here you can see the original Scourer and then when they've been cut open.  I used 2 Scourers to end up with these 2 pieces.
 Get your zip and see how it will look when you lay it on top.
 This is important.
When sewing this tricky fabric with the zip I really reccommend using a zig zag stitch.
Also, because I'm using a Mini JL sewing machine (always take on holiday cos it's light) which only has 1 sewing foot, I can only lay zip on top of fabric rather than embedding it.
 This is what it should look like when you have done 1 side.
Do the same to the other side.
 It's a good idea to zig zag the end of the zip where the ends are not together.

 Above is what it should look like so far.
 Get that strip of leather and pop through the kegring.
Then using a zig zag stitch, stitch into the side seam near to the edge of the zip. 
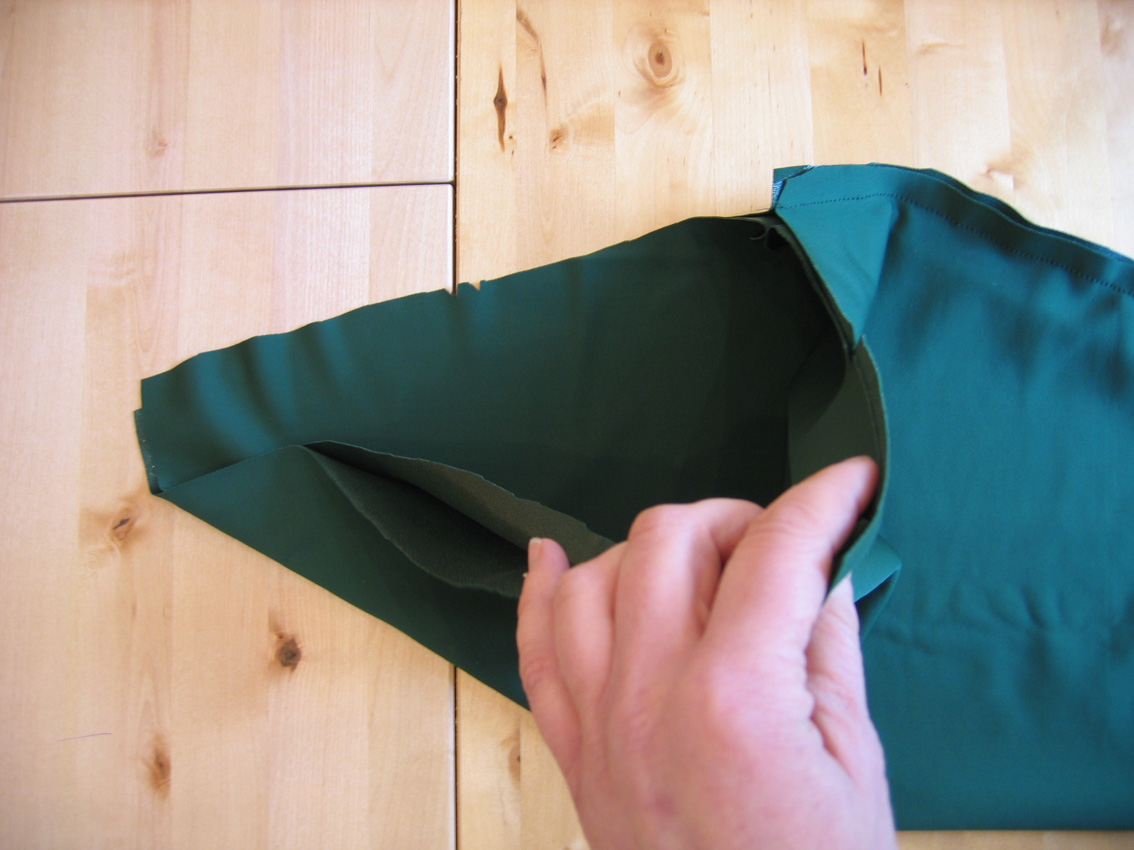
 Then fold right sides together.
 Very important!!
Before you start sewing around the edge,, you
MUST LEAVE THE ZIP A BIT OPEN.
 Again, because of the tricky fabric use zig zag 1st to go around the edge when stitching together.
Then go around again with a straight stitch, just inside of the zig zag stitch.
 When you have turned it the right way round, it should look like the above picture.
 WOW!!

Thursday 23 February 2012

Trip to IKEA

Trip to IKEA

Next time you go to IKEA take a look at stuff in a new way. If it's made of fabric then it can be used for clothes or bags.
And often it works out cheaper or you can get something more interesting than buying from fabric shops.

 These place mats are £1.99 and I'l be showing you how to make into clutch bags.
 And these are the 60cm wide blinds that are FANTASTIC for making skirts and long tunics with slits at the side. See my Louis Vuitton inspired, reversible skirt on Stitchless TV Videoshttp://www.stitchless.co.uk/youtubeplayer/detail/Louis-Vuitton-inspired-skirt-from-2-IKEA-blinds/70/.
 This is actually for net curtains but would make wonderful, slouchy summer jumpers or tank tops see my T-Shirt tutorial Part 1 http://www.stitchless.co.uk/youtubeplayer/detail/How-to-make-a-T-Shirt-and-a-Pattern---PART-1/70/  and Part 2 http://www.stitchless.co.uk/youtubeplayer/detail/How-to-make-a-T-shirt-and-a-Pattern---PART-2/70/
 Great quality linen for only £3.99 BARGAIN!
 And all the fantastic throws make great cardigans, jumpers and tank tops see link http://www.stitchless.co.uk/tank-top/ , Look at these, they are 100% cotton so will eat up a machine dye, endless possiblities and you wouldn't have to finish the hem.
Shaggy fur, this is pure wool and peanuts! Need I tell you what to do with this. Dye it, use as it is. Gillet (sleeveless jacket) Big collar with ribbon ties, Cuffs for boots or sleeves. And of course 'A Hairy Shrug Thing' http://www.stitchless.co.uk/stitchless-tv/but need a heavy duty sewing machine as a bit tough (unless you made by hand.

For me it's like a giant fabric and haberdashery shop and it's online too!!!

Friday 27 January 2012

High Waisted Leggings in 20mins

High Waisted Leggings
in 20mins
 These high waisted leggings were made from an old pair of American Apparell leggings that I unpicked and used as a pattern.
But Burda have a great pattern ref: 7343 which are just as good just have to knock off about 3cms off the waist and make a large rectangle for the folded over high waist.
 My fabric was bought from 'Fabric Land' in Kingston but look them up as they have branches all over.
The fabric was a shiny lycra jersey which you MUST WASH AND TUMBLE DRY before of it's just too shiny and looks silly.
 Fold fabric right sides together and lay pieces out. If using unpicked old pair of leggings then allow 1cm seam allowance all round.
 Should look like this picture above
 Then separate pieces and fold with right sides together.
 Take one of the legs and make a hem of about 2cms
 VERY IMPORTANT! With hem side down, stitch a line 1cm from hem stretch a bit as you go.
 Then stitch another line half a cm above it ( unless you've been using a twin needle)
 Trim off the excess
 Now, fold with right sides together and start stitching down the seam, always being aware of how far you are from the end and making sure seams line up as you go.
DON'T FORGET TO STRETCH A LITTLE AS YOU SEW
 Snip corner of hem at an angle as in above picture. Then stitch up the other leg in the same way.
 Now, concentrate........ have one leg the right way round and the other turned inside out as in he above picture.
 Should look like this
 Stitch around the crotch
 Turn the right way round and you are nearly there!
 Now get those 2 rectangular pieces which are going to be the high wait. Stitch the sides together  and then fold over and try it on to seem if you need to shape it. If it is too big bring it back to being flat and inside out and try shaping it like this and trim off the excess.
 Should look like this. Then make notches (little snips) to show centre back and front then zig zag the edges.
 Place over the top of the leggings, make notches to show sides of leggings
 Then begin to stitch together. MUST USE A ZIG ZAG STITCH. Make use of your notches line the up together as you sew that way you can be sure to firt the waistband to the leggings correctly and remember to STRETCH AS YOU SEW!
 Should look like this.
 Perfect!
20mins away from off the peg!
Imagine the all the different versions you could do of these.

Thursday 19 January 2012

Upcycled Shooting Jacket with Fur Armholes

Upcycled Shooting Jacket
with Fur Armholes
This brilliant, 'Upcycled Vintage Belstaff Shooting Jacket', cost me about £40 to make. Might sound a bit pricey but it is genuine Belstaff.
By re-shaping the armholes I was able to bring in the shoulders, to make it a better fit.
Also, the addition of the elasticated waist at the back gave it a bit more shape.
 I got this shooting jacket from Portobello Market in London.
It cost me £20.
The 2 furry tails were from Barnet Lawson in London. They cost £9 each. They have a handy strip of binding attached to them.  
 Chalk out where you want to cut the armhole. I like mine really deep.
 Then cut it out. For my jacket it had a section in the side seam so I am opening it out so my fur can start and finish in this seam.
 Using double sided sticky tape, (yes that's right!) cut it to about 2mm and stick to the edge of the armhole on the inside.
 Get one of the fur strips and start sticking the binding of the fur around the armhole, making sure you cover the tape up.
Then flap the fur over the armhole ready to sew.
 Keep the fur back and using a zig zag stitch, sew all the way round.
 You've finished the inside and it should look like the above picture.
 Now start sticking you tape about 7mm away from the edge ready to stick the fur edging down on the front of the armhole.
 You'll need to make a little hem as you stick of about 5mm.
 Really press down as you make your little hem.
Then whilst pushing the fur back and using a zig zag stitch, stitch around armhole on the exposed edge of binding. 
 Sew side seams back up
 The inside should look like the above picture.
Look how lovely it looks!
Now for the elasticated back.
Turn the jacket inside out and chalk out where the section is going.
Get a piece of elastic longer than you need and cut a strip of fabric 1cm wider all round. 
At one end flap over the seam allowance
Then turn over and place in chalked out square.
Now 1st of all stitch down one end and then follow down one edge, follow the elastic and stitch close but don't catch the elastic or it won't be possible to gather it.
Then stitch down the other side.
Then when at the end of the other side, start to gather it up. When you are happy with the amount of stretch and gathering, stitch across elastic tohold in place.
This is a picture of the finished back.
Go on, have a go........!

Search This Blog

About Me

Seamless with Shaz and Tree will show you how to make one-off, fashionable clothes easily. With Upcycling, sewing shortcuts and step by step tutorials. We'll also be doing trips out to our favourite suppliers and markets. We'll give you the tools to create you very own designer clothes

Followers