

Black Cardigan with Tails


FRONT VIEW
Make this fantastic 'Cardigan with Tails' from using 2 plain 'Uni Qlo' V necked Cardigans.

BACK VIEW
 1. Lay the cardigan that is your size out on the floor and cut 1cm above the ribbing all along the front and down the side seams.
 Sorry if you can't see very well, but you should end up with two strips of ribbing like these. Remember to remove buttons that will get in the way of sewing, they can be stitched back on later.
 2. Then using the same cardigan, decide how long you want the cardigan to be, allowing also for ribbing that will be added later and then shape the front.

BACK VIEW
Imagine the possibilities with this great cardigan, I've used a thin cotton mix UNI QLOcardigan but it works equally well with thicker wools. You can make a longer version so it's more like a frock coat cardigan. So long as you keep to the rule of buying 2 cardigans made of the same fabric one to fit you and one much bigger to use for the fabric.
It has this beautiful arched backseam with long tails gatered into it. Get 2 plain V neck cardigans, one in your size and one in the biggest size you can get as you'll be using this one just for the fabric.
 Get 2 plain V neck cardigans, one in your size and one in the biggest size you can get as you'll be using this one just for the fabric.
 1. Lay the cardigan that is your size out on the floor and cut 1cm above the ribbing all along the front and down the side seams.
 Sorry if you can't see very well, but you should end up with two strips of ribbing like these. Remember to remove buttons that will get in the way of sewing, they can be stitched back on later.
 2. Then using the same cardigan, decide how long you want the cardigan to be, allowing also for ribbing that will be added later and then shape the front.
Remember to remove any buttons that will be in the way of applying the ribbing.
 Once you've done that, lift back the front a bit so you can see the back and using the front as a guide, cut an arch in the back.
 3. Fold the cardigan down centre back and notch on the fold and 2inches away on the arch.
 Using the largest straight stitch on your machine, gather between the notches.
When off the machine you can pull the thread underneath to gather more or less.
 I know it's a bad picture, but it should look like this, you can make it more or less gathered according to your taste.
 4. Make sure you position the centre front band correctly before sewing and line it up to fit with a little stretch to the side seams.
 Stretch the ribbing as you sew it on.
 This is how it should look at this stage.
 5. Using your second spare oversized cardigan cut a piece all the way across, in this case 23cms from the hem. Unbutton and open out to cut down the centre back, leaving you with 2 halves.
 Trim back hem to ensure you have a good shaped arch.
 6. Work out how long it needs to be to reach across and hang flat, then cut off excess allowing for a seam allowance.
 Then right sides of fabric together stitch from centre back down one side of arch, then stitch down the other side which may not reach all the way to the hemline.
When you've completed one tail, get ready to apply the second one on the opposite side in the same way.

 CLOSE - UP OF TAILS
 BACK
BACK
 FRONT
FRONT
You've completed this great Cardigan with Tails.You can change the look depending upon the position of the arch at the back for the tails.
 I know it's a bad picture, but it should look like this, you can make it more or less gathered according to your taste.
 4. Make sure you position the centre front band correctly before sewing and line it up to fit with a little stretch to the side seams.
 Stretch the ribbing as you sew it on.
 This is how it should look at this stage.
 5. Using your second spare oversized cardigan cut a piece all the way across, in this case 23cms from the hem. Unbutton and open out to cut down the centre back, leaving you with 2 halves.
 Trim back hem to ensure you have a good shaped arch.
 6. Work out how long it needs to be to reach across and hang flat, then cut off excess allowing for a seam allowance.
 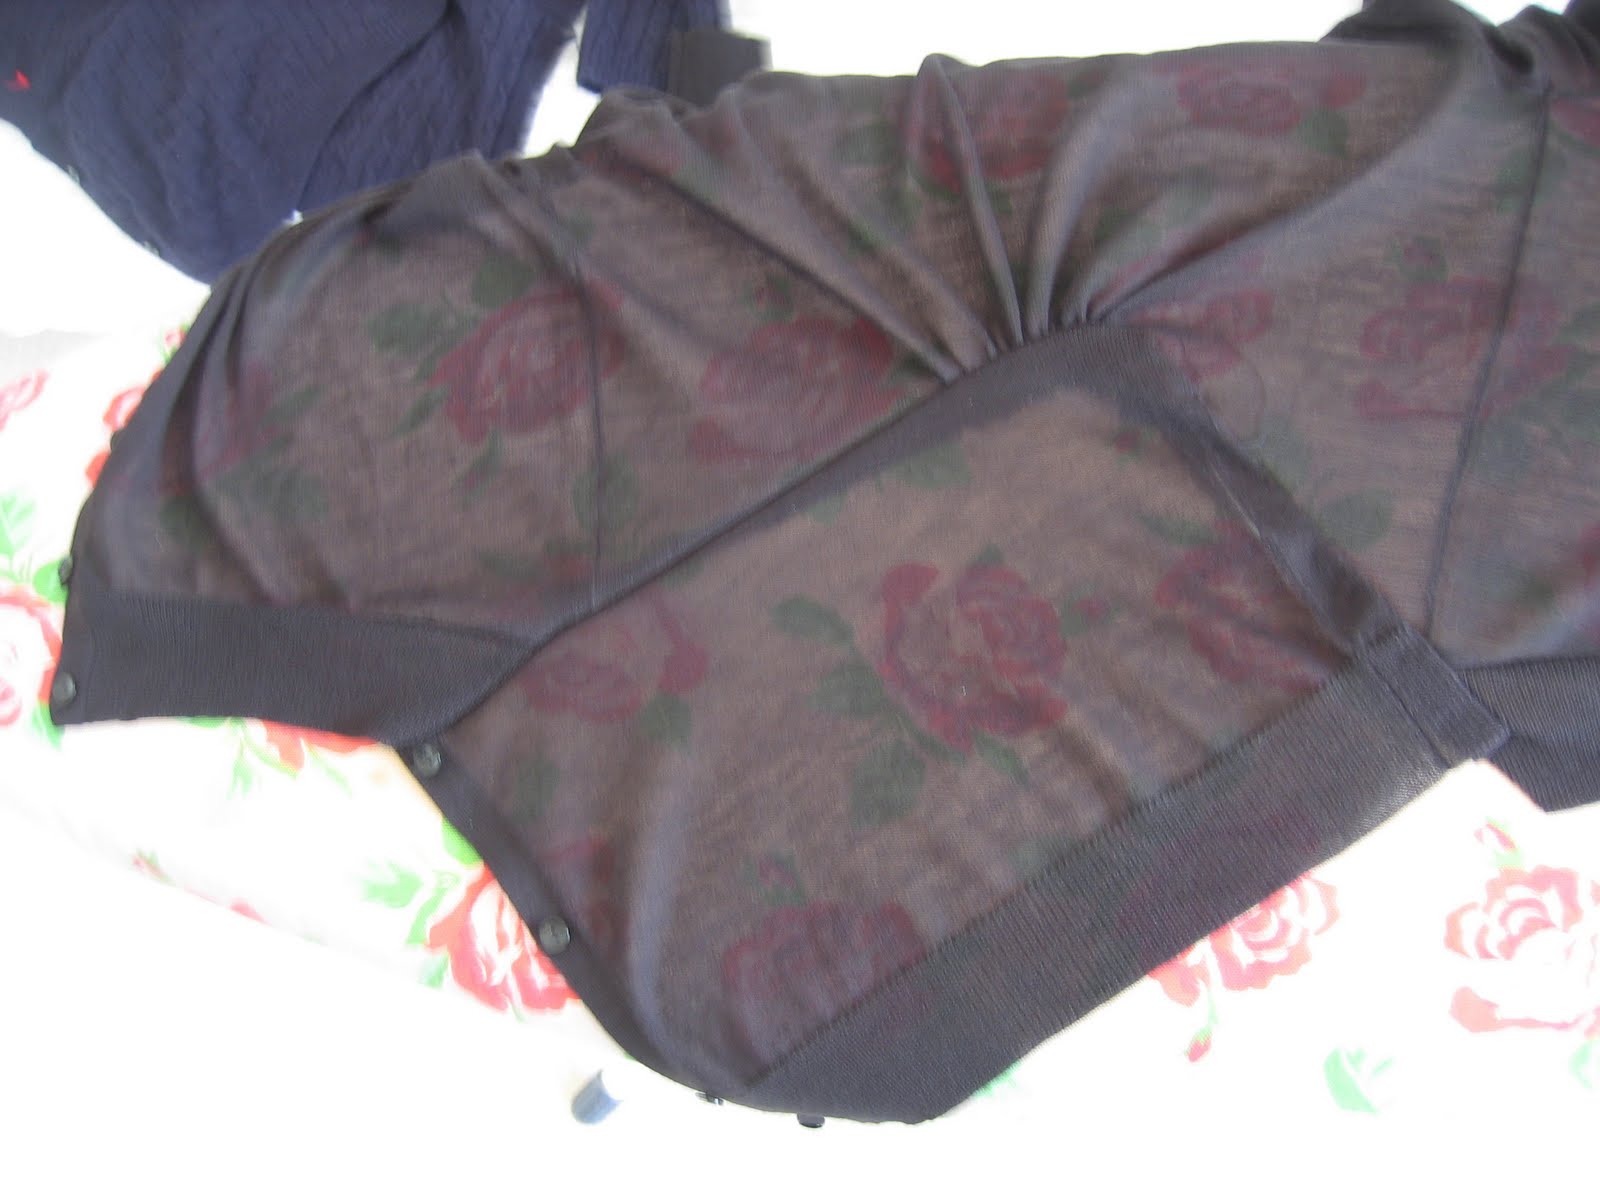 Then right sides of fabric together stitch from centre back down one side of arch, then stitch down the other side which may not reach all the way to the hemline.
When you've completed one tail, get ready to apply the second one on the opposite side in the same way.

7. Close - up of tails inside out, shows that if you are happy with the position, you must zig zag seam allowance to finish off.
 CLOSE - UP OF TAILS
 BACK
BACK FRONT
FRONTYou've completed this great Cardigan with Tails.You can change the look depending upon the position of the arch at the back for the tails.


Finished making puffed sleeved top. Going to look for 2 cardigans to now to make this one.
ReplyDeleteI'll let you know how I get on.