Showing posts with label sew. Show all posts

Thursday, 30 June 2011

Tutorial 9 - Upstyle, Sew Puffed Frill onto Back of Cardigan

Tutorial 9
Sew Puffed Frill onto Back of Cardigan
 I'll show you how to create this amazing puffed frill onto the back of a cardigan.
Click on images to make bigger.
 I used a regular cardigan from UNI QLO that I bought in the sale for just £9.00
But you can 'Upstyle' any old cardigan that you no longer wear.
 1.    Cut 8ins up the side seams or to where you want the Puffed Frill to stop.
 Allowing half an inch for the seam allowance, cut straight across back.
 2.  Do notches for the darts. I did mine 3inches from side seam, 1inch apart.
 Fold fabric so notches line up and keeping it straight stitch a line from the edge at an angle to the fold, about 4inches as seen in photo.
 Should look like this. Press darts towards side seams.
3.   Get the piece you cut out the back, and cut off the ribbing allowing 1/2 inch seam allowance.
 Put right sides together onto cardigan and sew along edge of ribbing.
 Then once you have pressed it it should look like this.
In another tutorial I will show how you can get this effect with a cardigan, long at front and short at back. You can't do it with this one, as you need to start it differently.
 4.  Fold over some silk, 2 - 3 times the width of the back of the cardigan. (ie. going across back of the waist of cardigan in Fig 1)  Mine was 12inches wide, so I cut my strip of fabric 36inches long.

Then whatever the length was in Fig 1 (mine was 8inches) add 1inch for seam allowance, so I cut it 9inches from the fold.
 So as to keep the ends tidy, put right sides together and stitch ends.
Then turn right way round and press flat.
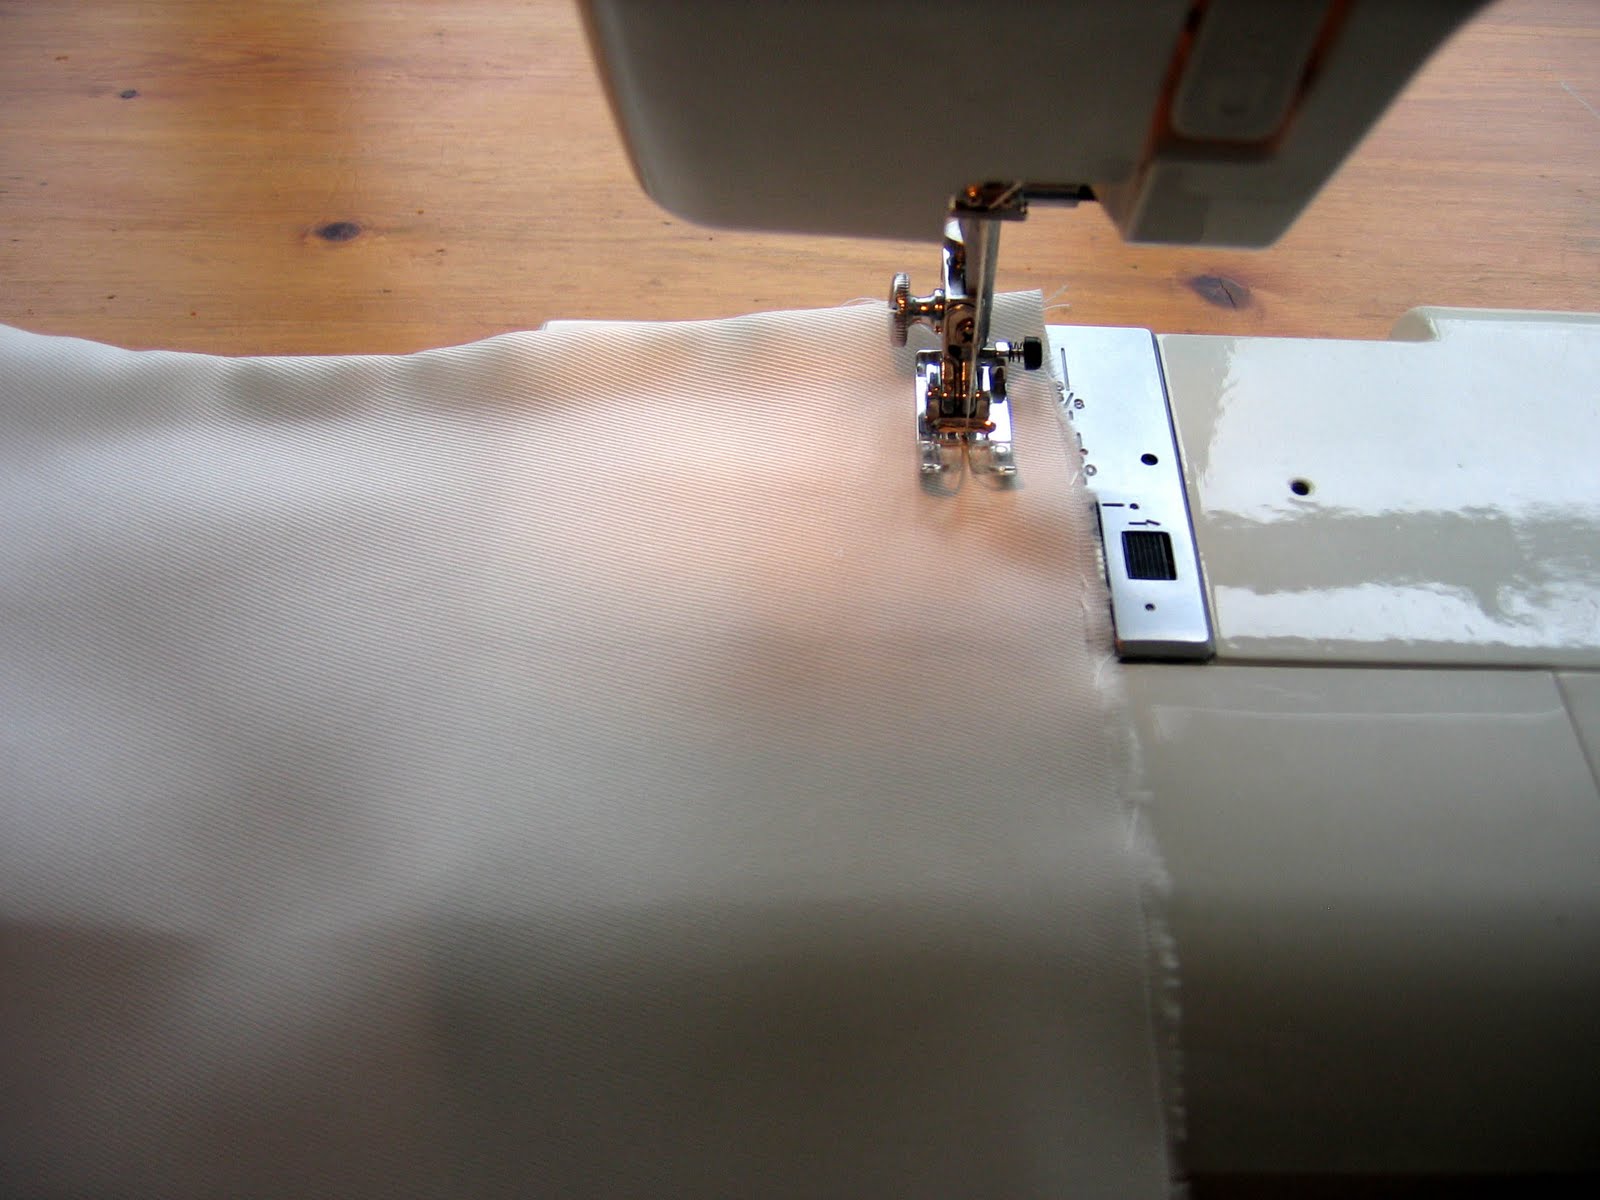
 5. Then you need to gather this.
Using the biggest stitch on your sewing machine, stitch a straight line along the edge, not the fold.

Don't begin and end with going back and forwards as you need to pull the threads to gather.
Just pull bottom thread to gather fabric and gently ease along till it roughly fits the back of the waist.

Once you are happy with the size, put right sides together and stitch along the same line as when you attached ribbing.
 It should look like this.
6.   Now you need to stitch up side seams, make sure you catch the ribbing in as you sew and check as you sew that the cardigan and the silk finish the same length.

I often hold things together with 'Bond- a -Web' 1st, but you must cut it to only 1mm so it's not too thick and press into place. 
 Never underestimate pressing.

You need to stretch the ribbing as you press the back waist.

Also you must stretch out the ribbing along the hem at the front, gradually stretching up to waist. This is so the cardigan does not pull.
This really does create a glamorous look to a plain cardigan.

Sunday, 15 May 2011

Tutorial 8 - Upstyled White top shortened with new Frill and elastic on back

Tutorial 8
Upcycled White Top with New Frill
and Elastic on Back


(After) Putting this frill onto this long white top makes it really 'cute.'

(Before) As the original top, it looked a bit frumpy.
Now see how we can 'Upstyle' it.

1. Work out how long you want the top to be, then make it 3inches shorter (allowing for the frill.)

Cut two strips. One along the hem 3 inches wide.


Then another 3 and a half inches wide (you'll need the extra half an inch to make a hem on this one.)

You should end up with 2 strips.


1 with the original hem and 1 a bit bigger with no hem.

Find a sewing foot that looks something like this in your machine box it's great!


If you don't have one it's a'bummer' but you can do a pressed hem using your iron and then stitch in place.

2. Using the 'Hem Foot' start sewing along the strip with no hem and let the fabric roll into the foot.


It makes doing a thin stitched hem so.................. easy.

Sew side seams together and zig zag raw edges.

3. Using the largest stitch on your machine stitch from one side seam to the other leaving a long loose thread.


Then do the same with the other side.


Then lay on a flat surface and gently pull the under thread, easing the gathering to roughly the size of the hem of the top.


Fold top in halt and notch to show centre front and back.

4. Roughly match up notches with side seams, centre fronts and backs making gathers more or less to fit size.


Then beginning at a side seam with right sides together start to sew.


When you have finished don't forget to zig zag raw edges and the press frill.


5. Before putting the elastic in the back, press a line to use as a guide for where you want the elastic to go. Remember to do a little vertical line to show where it should stop.


Turn the top inside out, working on the wrong side.


Lay the elastic along the pressed line and using a 'zig zag' stitch, begin by going backwards and forwards in one place.(Always leave a good inch to grab hold of at he beginning.)


Then as you really stretch the elastic start to sew along until you get to the end of the pressed line and zig zag backwards and forwards to finish.


This is a technique I use alot on tops and coats.


It gives shape to an otherwise shapeless top and adds detail to the back.


By adding the frill it transforms this top from a frumpy top to something more 'cute' and much more flattering.

Wednesday, 9 March 2011

Tutorial 7 - Sew Puffed Sleeves onto Vest Top

Tutorial 7
Puffed Sleeves onto Vest Top
I love tops with Puffed Sleeves.

Worn under sleeveless tops and dresses they can transform a look.
To make this great Puffed Sleeve Top I used 3 £6 Vest Tops from Top Shop.
It cost me £18 and about 2hrs of my time.

I bought 3 Vest Tops mine are from Top Shop but you can get from Uni Qlo, M&S or John Lewis most clothes shops sell them

1 in your size and 2 larger ones to use for the fabric.

1. Using the large vest tops for the sleeves we lay them 1 at a time out on the floor. Measure 15ins for the length of the sleeve and cut a shape similar to above.


A good tip is to cut the sleeve off an old T shirt to use as a guide.

Lay the cut out sleeve on the 2nd vest top and cut to make


You should end up with 2 sleeve pieces the same

2. Starting about 3ins from the beginning and using your largest straight stitch, sew a line all the way round the sleeve head stopping same distance awayon other side.(see below)

Using the under thread, start gently pulling to gather the sleeve head until it more or less looks like it will fit the armhole of the vest top.

3. Line up centre seam of sleeve with centre shoulder sleeve of vest top, (with the sleeve fabric the right way up and the vest top fabric).

Put your machine to a big zig zag stitch and start sewing slightly stretching the vest top a little as you go.

When you get to the under arm seam you can keep going, but sometimes it's easier to stop and see what you have done and if you need to make any adjustments to the gathering at the back.

Then when you're ready, start again at the top working your way round.

Cut off excess fabric from around inside top part of sleeve as the strap is narrow here and you don't want to see and raw edges.

You could stop at this stage and have huge cape effect sleeves or if they had been shorter then they could be 'Bell Shaped' sleeves.

OR.....you could just tie a knot on the centre seam, leaving enough room to get your arm through this looks great!


But if you want big puff sleeves continue...........
4. Make a little slit with your sissors near the inside seam on the hem.
Get some elastic the correct width to fill the hem (I used 9mm).

Using a safety pin, thread the elastic through the hem gathering as you go and keeping the elastic from getting twisted.
When you are out the other end and it looks roughly the right size, cut leaving a couple of inches of excess just in case and hold with pin.

Slip your arm in to see if it fits.

Once you are sure of the size of the elasticated cuff, stitch forwards and back on the elastic then cut off excess elastic.

Even out the gathering and make sure the elastic stays flat. Staystitch a little bit in the seam on the opposite side, to make sure your elastic does not become twisted.


And that's it!

You can do contrast colour or fabric sleeves.


You can first decorate the sleeves with lace or braiding before putting together.

Or you can wear them under sleeveless tops and dresses to give a whole new look.

I'll show you many examples of these throughout this Blog as I love 'Puffed Sleeves'.

Search This Blog

About Me

Seamless with Shaz and Tree will show you how to make one-off, fashionable clothes easily. With Upcycling, sewing shortcuts and step by step tutorials. We'll also be doing trips out to our favourite suppliers and markets. We'll give you the tools to create you very own designer clothes

Followers