#UPCYCLE SEQUIN DRESS TO BUSTLE TOP IN MINUTES
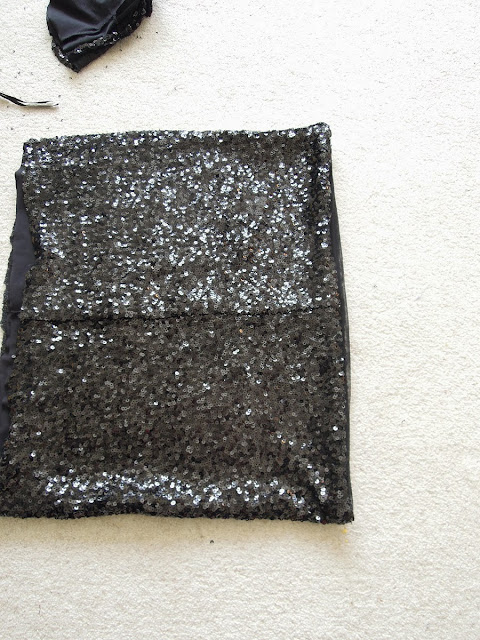
Made by Upcycling a sequined dress that was too tight
1. Cut to the length that you want the top to be
2. Cutting through both lining and dress cut an arch on both sides
3. Should look a bit like this. This is the back
This is the back.
4. This the bit left over from the bottom of the dress
5, Cut it as wide as you want the side bustle to be then cut away the front and back so you end up with 2 pieces. It's a good idea to keep the finished hem.
6. With the left over bit of lining from the arch that was cut out of the top......cut a small rectangle that will be used as ribbing on the centre front and back hem on the top
7. This is where you attach it.
8. Stitch it right sides together
9. Stitch three quarter of a cm away from the edge
10. Press the ribbing as I have in the above photo
Then fold back ready to stitch in the ditch (the bit where the sequin fabric joins the ribbing)
11. Stitch in the ditch as in above photo
12. Then on the reverse side, cut away the excess fabric.
13. Photo above shows the wrong side with the excess fabric cut away
14. Then when it's done it should look like this on the right side.
15. On the sequin, side start sewing using a zig zag stitch to hold the lining and sequin fabric together. (the zig zag stitch allows the fabric to still stretch)
16. This shows how it should look like on the inside.
17. Take one of your pieces from the bottom of the dress
18. Open out the lining as in the above photo
19. Put the lining right sides together with the sequin fabric and work out how long it needs to be to fit the arch on the top.
20. Stitch up both sides and turn the right way round. Then press with an iron.
21. When pressed should look like the above photo
22. The above photo show the right side. Make 2 of these.
They will become the bustles for your top.
23. When you have done both rectangles, zig zag the raw edges to make the lining and the sequin fabric stay together. Then mark out, using chalk as I have in above photo.
24. On the actual top you also need mark with chalk notch show the centre of each side. You will use these chalk marks to line up with the bustle bit of fabric when sewing together
25. Put the bustle fabric and top right sides together.....
Very important to start sewing from the side seam going down one side, matching your chalk marks as you go. And then go again from the side seam and work your way down the other way.
VERY IMPORTANT
You must use a zig zag stitch to sew these seams together.
Then do the same to the other side.
AND YOU'VE FINISHED!
This is the view of the back
And this is the front.
To watch a video of how to make a T-Shirt version of the Bustle Top click on this link.


No comments:
Post a Comment