Showing posts with label Upcycle. Show all posts

Tuesday, 20 September 2011

Tutorial 13 - Upstyle Cardigan with Silk Frill Peplum

Tutorial 13
Upstyle Cardigan with Silk Frill Peplum
This Upstyle project is really versatile.
Here I used a scarf for the frill peplum but it can be any fabric.
Using a plain silk the same colour as the cardigan can give a more subtle look. 
You will need a classic cardigan this one is from UNI QLO was £15 and I used a scarf (34ins square) which was £5 from Portobello Market.
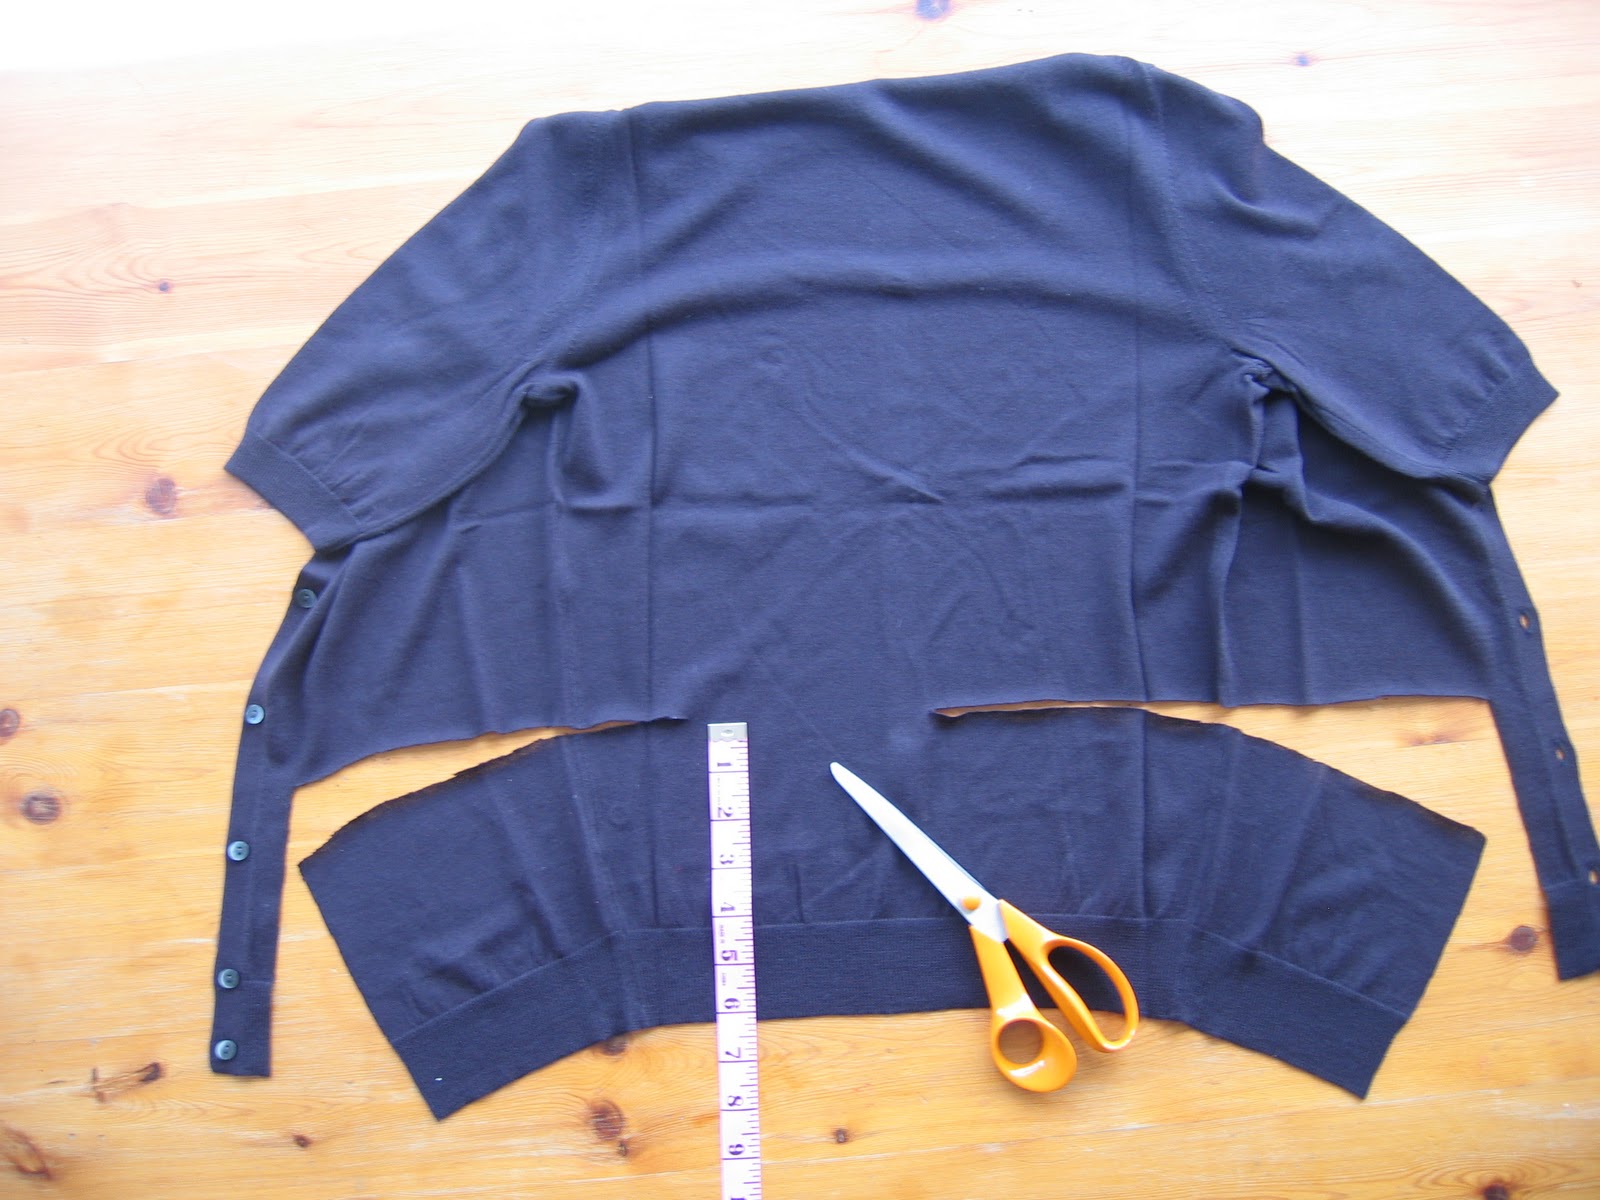
1.  Keeping the buttons and button holes, cut 6ins up along centre front leaving 1/2 inch seam allowance.
Then cut along until you have cut a section out that is 6ins wide. Keep this as ribbing is very useful for loads of other tutorials.
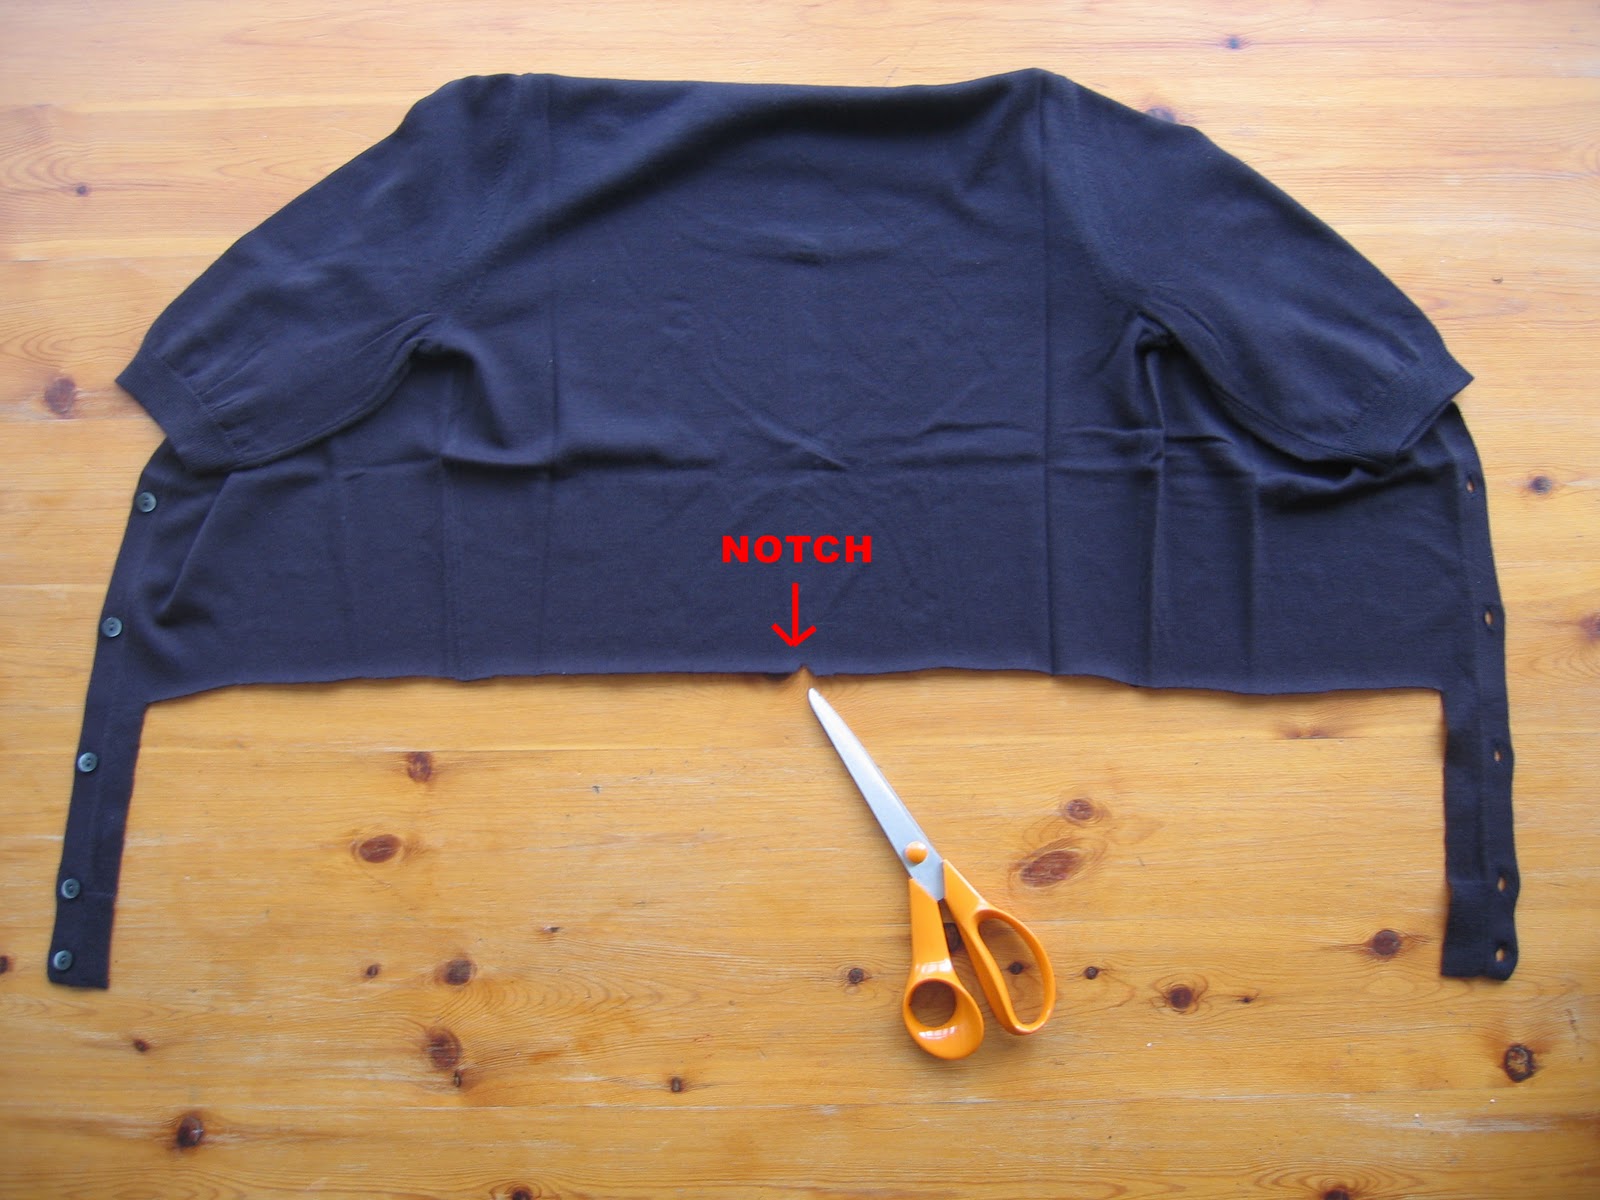
Find the centre front by folding the cardigan in half and making a little nip in the fold. When you open it out it should look like this.
2.   Get the scarf and cut 2 strips 7ins each (this allows for extra seam allowance)
Put them right sides together and seam one seam
Then press open
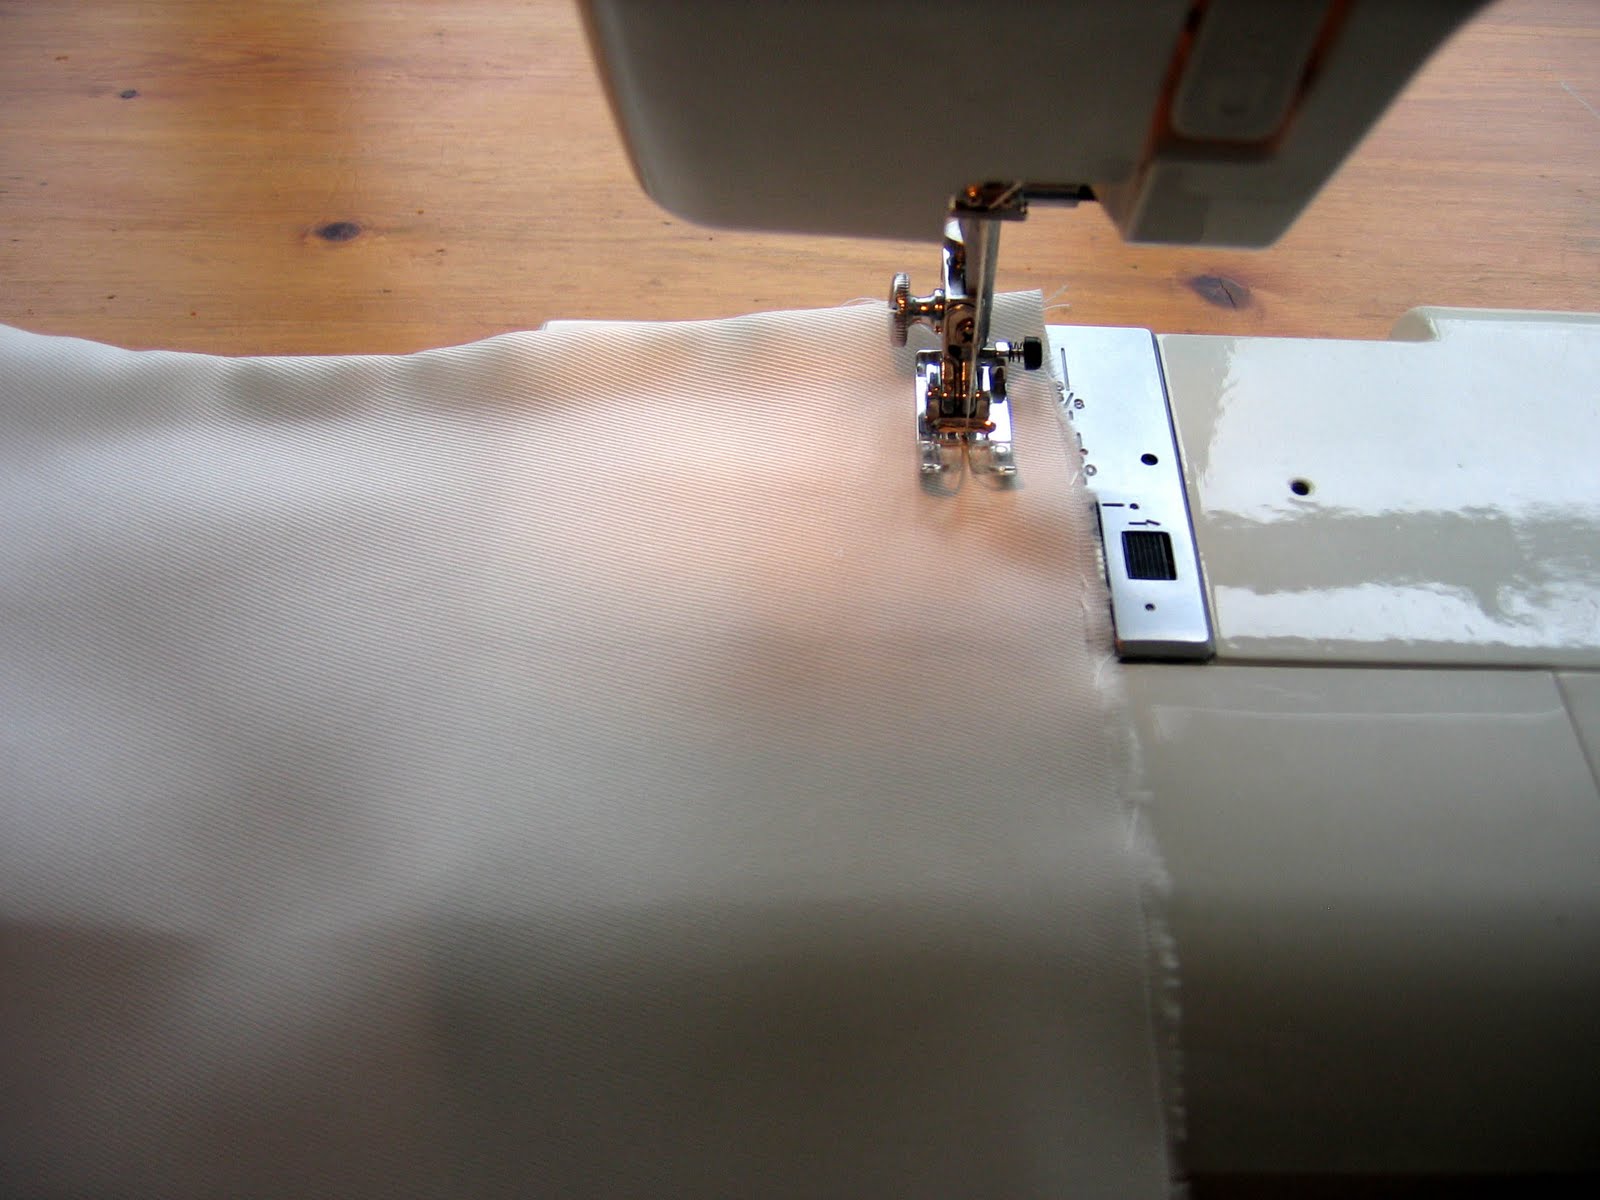
 Gather using largest straight stitch on your sewing machine and pulling a bottom thread till it roughly looks like it will fit the space in the cardigan
3.   Make 2 more notches equidistant apart from centre back notch.
Fold where the 1st notch is and make a dart by sewing at an angle from the edge coming in about 4ins long. Click on above picture to make larger.
Then do the same on the other side, press with a steam iron and it should look like this.
4.  Now, put the cardigan on the ironing board and get a long piece of Bond a Web cut to 1-2mm wide, position it just on the edge of where you're going to add the gathered frill.
Place the frill, right sides together, onto the Bond a Web, (as seen in picture) starting 1 inch in, for seam allowance. And begin working your way along pressing into place as you go and adjusting the gathering to fit as you go.

Remember to leave the same seam allowance 1inch at the end.
When you are happy that it is glued in the right place, you can begin sewing.
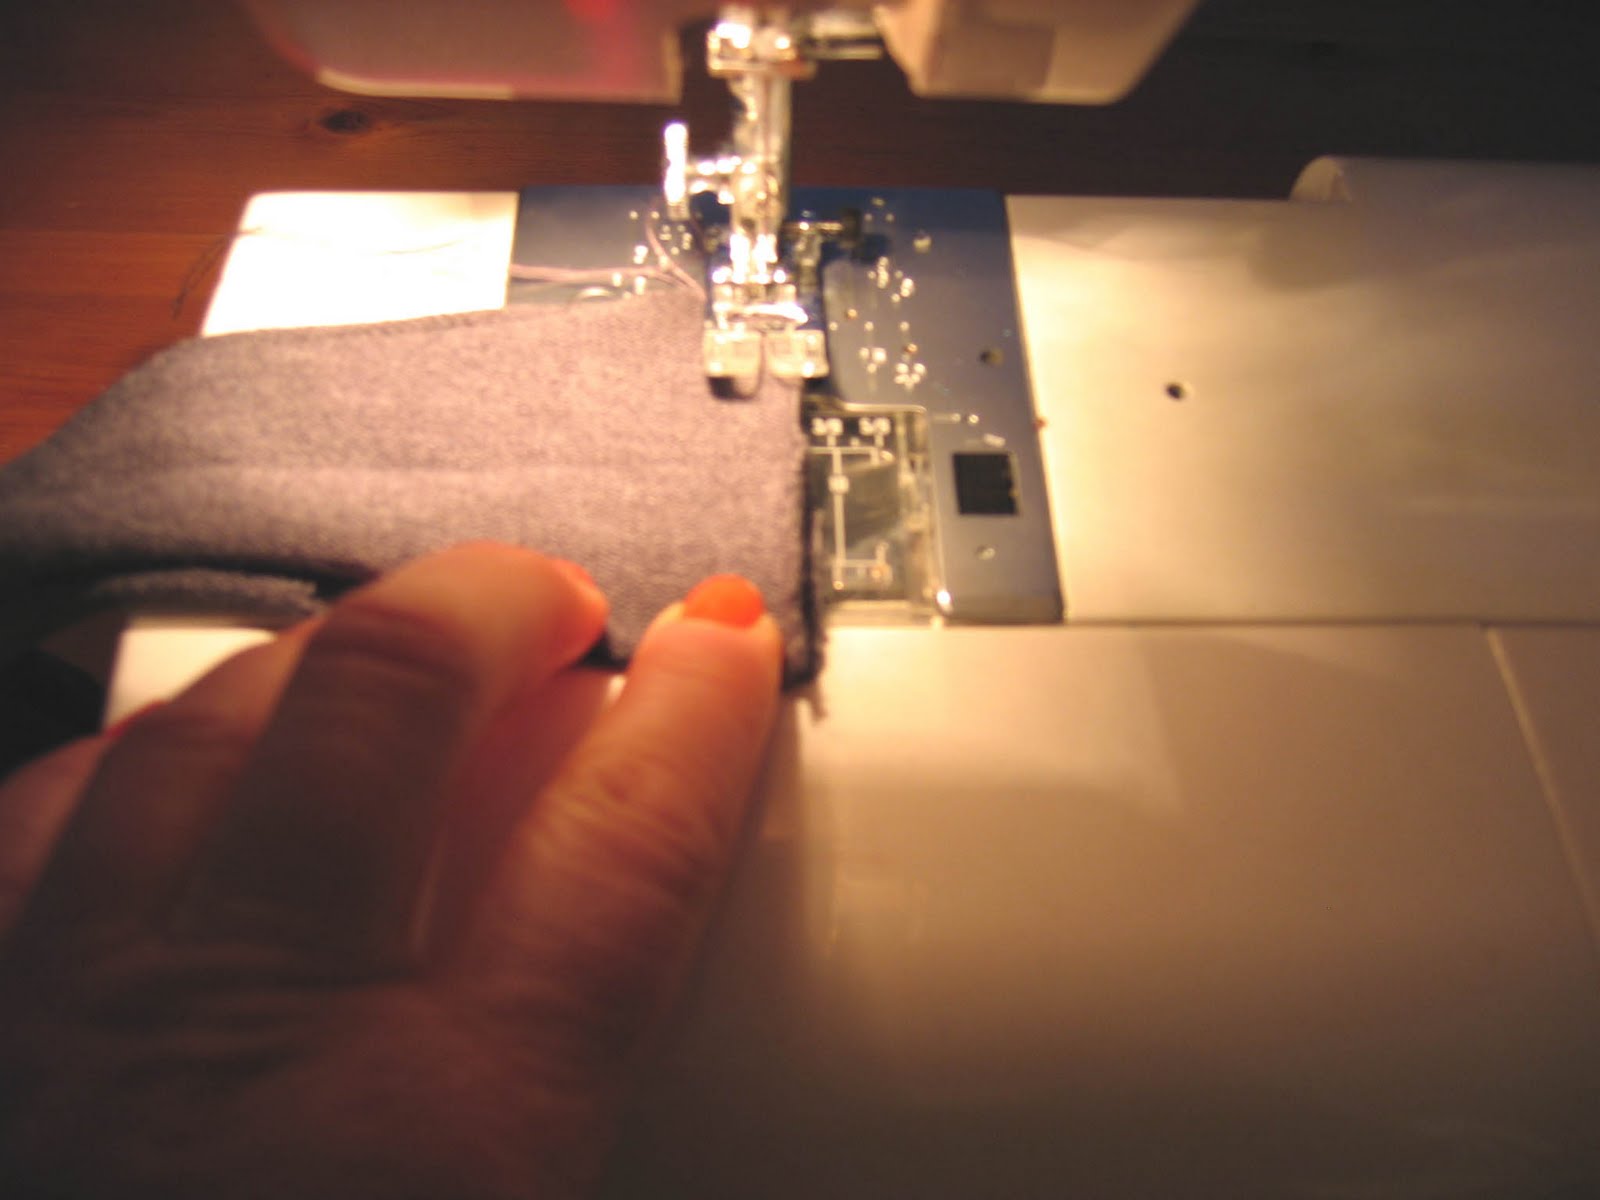
Start 1/2 inch before, where my finger is in the picture.
Then do a little diagonal snip from the edge to the beginning of the stitch line.
Do the same on the other side. This is done to allow movement in the fabric so that you can turn the frill fabric and stitch down the centre front.
Just like this.
You may need to ease the knitted cardigan fabric to fit as you go, this can then be pressed out.
Press back and zig zag all the edges.
I usually give a little snip to mitre the seams where they meet the hem before I zig zag.
Close up of pressed front
Should look something like this when laid out.

Once you have mastered this this possibilities are endless, that space that you cut out of the cardigan can be filled with anything.

Chiffon, lace, silk, rough linen it's up to you, make your own unique version
I even had a little bit left to make a neck scarf.

Tuesday, 23 August 2011

Tutorial 11 - Tank Top made in Missoni Fabric

Tutorial 11
Tank Top made in Missoni Fabric
 This Tank Top was made in Missoni fabric bought from 'Classic Textiles' on the Goldhawk Road in Shepherds Bush.
It is one of my favourite fabric shops and sells many off cuts from design houses at bargain prices.

 This fabric was £24 per mtr but I only used 60cms so it cost me about £15 to make.
I could also have upcycled a scarf if it was wide enough
Sorry some pictures were done at night and the quality is not great! 
1.   Fold fabric so the hems meet and lay a vest top that fits you on top as a template.
Work out how long you want it and adjust where you think the hem should be.
I wanted my top to be 19inches long.
                  When you cut your top make it go out at the hem by about 3inches (6cms)
 2.   Separate the front and back and fold right sides together on each.
Then for the front work out how long you want the 'V' neck at the  front to be, then cut from the shoulder down at an angle to the centre front. (as seen in photo)

Then for the front armhole, I like deep armholes on my tank tops so I've cut 2cms deeper on the armhole (see photo above)

You then have to repeat this on the back armhole, so lay them on top of  each other and shape the back armhole.
Make sure the tops of the shoulders line up too, trim accordingly.
                      Your pieces should look something like this when you lay them out.
          
Lay them ontop of each other, right sides together and stitch shoulder seams.
                                                        Zig zag raw edges to finish off. 
3.  Cut a 2inch wide strip of jersey or knitted fabric (make sure you cut across the ribbing lines for extra stretch, click on picture to enlarge). I used some left over old grey cardigan. Then fold over, wrong sides together stretching as you go.

Then take this piece and stretching as you go work your way round the neckline to see how long it needs to be and cut allowing extra for seam allowance. 
Stitch right sides together, then fold back and press wrong sides together again.

With seam at one end work out where a notch (little snip to mark something) should be to signify half way round the circle or where it will be stitched to centre front.
4.   With ribbing on right side of tank top fabric, start at the centre back making the join in the ribbing begin here.
Using a medium to large straight stitch start sewing.

VERY IMPORTANT
When you attach ribbing onto anything, you must stretch the ribbing as you sew, not the bottom fabric.
Be aware as you work your way round that you have to get the notch to meet up with the 'V' on the centre front, so ease and stretch accordingly.

If you don't feel confident to do this, I can really recommend cutting some 'Bond a Web' to about 1-2mm and press with an iron to glue in place first before sewing but you still have to stretch the ribbing as you go round.
VERY IMPORTANT
Once you've zig zaged your raw edges to finish off you must put over the ironing board and stretch as you press all the way round and really, really stetch and press.
5.  Keeping the armhole open make another piece of ribbing and attach in the same way, remembering to stretch as you press at the end.
Then simply stitch up the side seams, zig zag to finish off, press your seams and ........wow! That's it, it's so easy!

Imagine all the different versions of this you could do. I've also made them in lace and glitzy fabrics, so long as you use the ribbing finishing off method, it looks great! (Allow a bit extra for fabrics with no stretch, an inch pinch on either side should be fine.
Also, if you cut it longer it could be a dress, but remember to buy double the fabric or get 2 scarves. 
Extra Ribbing Belt
1. Using Ribbing or old knitted fabric (make the same as your ribbing on the Tank Top), cut across the ribbing lines for extra stretch, cut a length or 2 lengths 2inches wide to make a belt long enough to tie round and hang down a bit.
Because my pieces were not long enough I had to join them together like this.
Starting in the middle stitch along edge 1cm allowance and finish in a point. Trim off excess.

Then go back to the middle of the belt again leave an opening 2inches and do the same down the other side.
Using something that's long with a bit of a point at the end start pushing it inside out then pull through the opening.
                                Do the some on the other side and then stretch and press.
I think this really finishes off the look and is a handy tip to know as you can make a belt for anything, maybe from the hem of a dress that was too long.
I'll show you how to do it and you use your imagination to create your own look.

Monday, 22 August 2011

Tutorial 10 - Upstyle, Flower Applique onto Cardigan

Tutorial 10
Upstyle, Flower Applique onto Cardigan

For this 'Upstyle' tutorial I've used 'Digital Fabric Paper' and printed using my home printer.
It comes in cotton and silk and dries in minutes.
1.  To make a garland of flowers I had to print 2 halves as I only have an A4 printer. Once fabric is dry, peel away from paper backing.
2.  Then lay onto some 'Bond a Web' and cut out.


3.  Press with iron.
You can peel off paper backing but I prefer to wait till I've cut out the image.

4.  Cut around each garland and laying them on top of each other work out where you'll need to cut them to make them fit.
                                            Now is a good time to peel of paper backing
Stretch cardigan onto ironing board and layout your printed fabric.
Once you're happy press into place.
5.  When everything is pressed now you can sew using a straight or zig zag stitch, all around your design.
This method can be used for any piece of clothing.
Looks really great to build up a collage of prints onto the back of a coat or jacket great upstyle project.

My Digital Printing Fabric paper was bought from 'Crafty Computer Paper'. online.

Thursday, 30 June 2011

Tutorial 9 - Upstyle, Sew Puffed Frill onto Back of Cardigan

Tutorial 9
Sew Puffed Frill onto Back of Cardigan
 I'll show you how to create this amazing puffed frill onto the back of a cardigan.
Click on images to make bigger.
 I used a regular cardigan from UNI QLO that I bought in the sale for just £9.00
But you can 'Upstyle' any old cardigan that you no longer wear.
 1.    Cut 8ins up the side seams or to where you want the Puffed Frill to stop.
 Allowing half an inch for the seam allowance, cut straight across back.
 2.  Do notches for the darts. I did mine 3inches from side seam, 1inch apart.
 Fold fabric so notches line up and keeping it straight stitch a line from the edge at an angle to the fold, about 4inches as seen in photo.
 Should look like this. Press darts towards side seams.
3.   Get the piece you cut out the back, and cut off the ribbing allowing 1/2 inch seam allowance.
 Put right sides together onto cardigan and sew along edge of ribbing.
 Then once you have pressed it it should look like this.
In another tutorial I will show how you can get this effect with a cardigan, long at front and short at back. You can't do it with this one, as you need to start it differently.
 4.  Fold over some silk, 2 - 3 times the width of the back of the cardigan. (ie. going across back of the waist of cardigan in Fig 1)  Mine was 12inches wide, so I cut my strip of fabric 36inches long.

Then whatever the length was in Fig 1 (mine was 8inches) add 1inch for seam allowance, so I cut it 9inches from the fold.
 So as to keep the ends tidy, put right sides together and stitch ends.
Then turn right way round and press flat.
 5. Then you need to gather this.
Using the biggest stitch on your sewing machine, stitch a straight line along the edge, not the fold.

Don't begin and end with going back and forwards as you need to pull the threads to gather.
Just pull bottom thread to gather fabric and gently ease along till it roughly fits the back of the waist.

Once you are happy with the size, put right sides together and stitch along the same line as when you attached ribbing.
 It should look like this.
6.   Now you need to stitch up side seams, make sure you catch the ribbing in as you sew and check as you sew that the cardigan and the silk finish the same length.

I often hold things together with 'Bond- a -Web' 1st, but you must cut it to only 1mm so it's not too thick and press into place. 
 Never underestimate pressing.

You need to stretch the ribbing as you press the back waist.

Also you must stretch out the ribbing along the hem at the front, gradually stretching up to waist. This is so the cardigan does not pull.
This really does create a glamorous look to a plain cardigan.

Search This Blog

About Me

Seamless with Shaz and Tree will show you how to make one-off, fashionable clothes easily. With Upcycling, sewing shortcuts and step by step tutorials. We'll also be doing trips out to our favourite suppliers and markets. We'll give you the tools to create you very own designer clothes

Followers